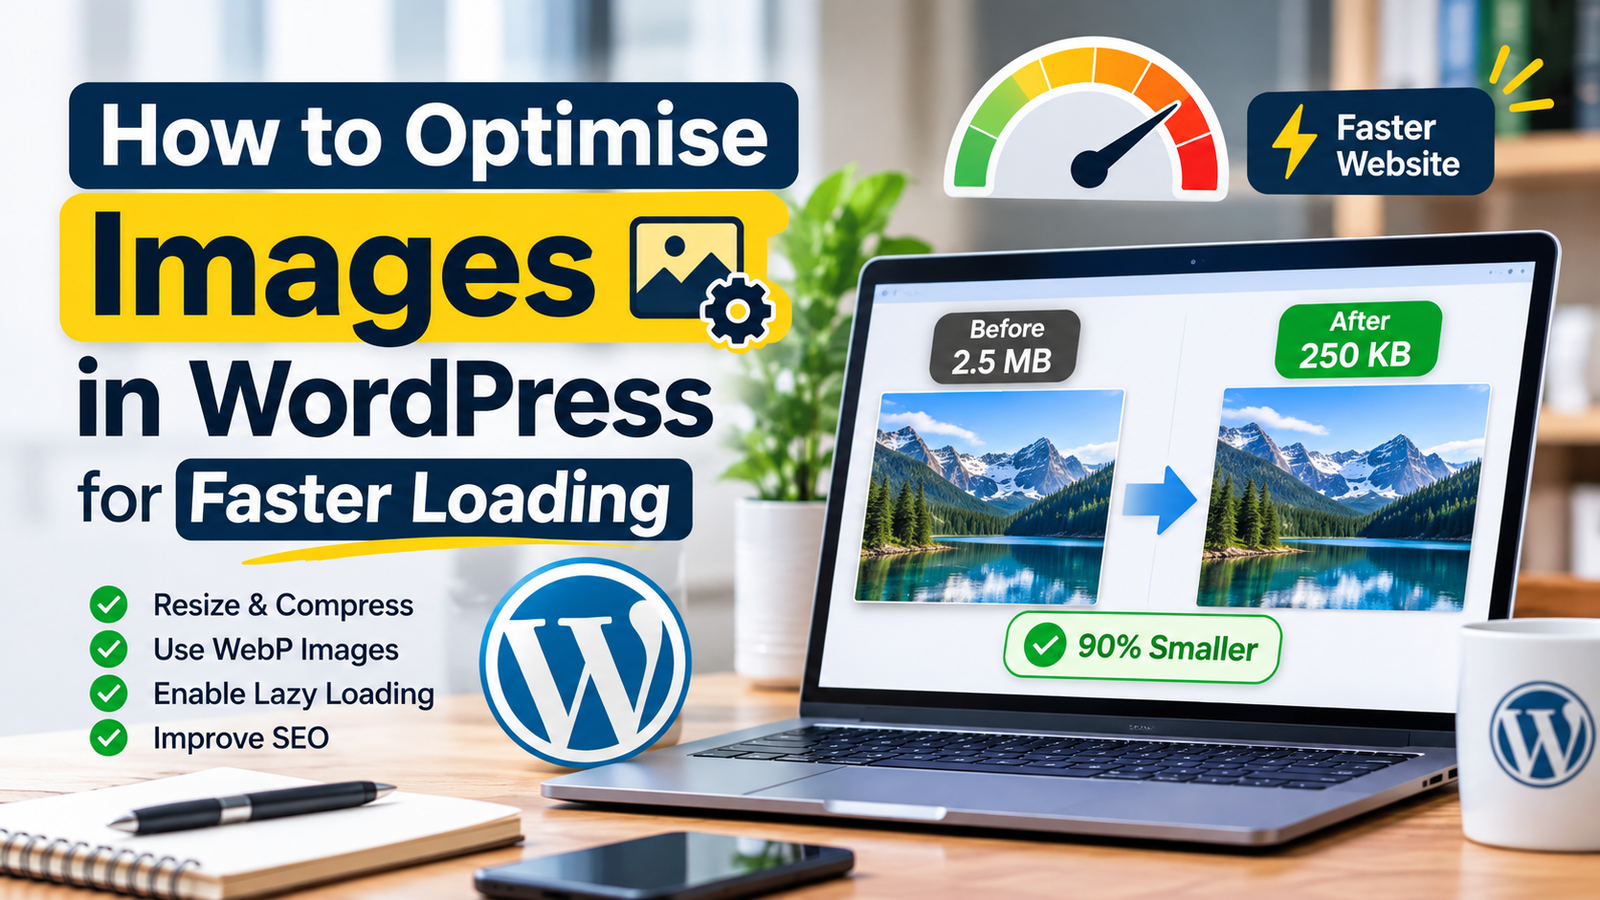
How to Optimize Images in WordPress for Faster Loading
Introduction: How to Optimise Images in WordPress
Images make a WordPress website more attractive, engaging, and professional. Whether you run a business website, blog, or WooCommerce store, high-quality images help visitors understand your products and services.
However, large and unoptimised images can also make your website slower. Uploading oversized photographs, using inefficient image formats and ignoring image compression can increase page size and affect the browsing experience, particularly for visitors using mobile devices.
The good news is that you don’t need advanced coding skills to optimise images in WordPress.
In this guide, you’ll learn how to optimise images in WordPress, choose the right image formats, reduce file sizes, use WebP images, configure lazy loading and improve your website’s overall performance.
Why Is Image Optimisation Important for WordPress?
Image optimisation means preparing images so they maintain good visual quality while using fewer resources when displayed on your website.
It usually involves resizing, compressing, and choosing suitable image formats.
Here are some important benefits.
1. Improve Website Loading Speed
Large image files require more data to download. When a page contains several oversized images, visitors may have to wait longer for the content to appear.
Reducing image file sizes can help your pages load more efficiently.
2. Improve Mobile User Experience
Many visitors access websites using smartphones and mobile networks.
Serving appropriately sized images helps avoid downloading unnecessarily large files on smaller screens.
3. Support Core Web Vitals
Images can affect important performance measurements, particularly Largest Contentful Paint (LCP).
For example, a large hero image at the top of your homepage may be the main element measured for LCP.
Optimising that image and ensuring it loads at the right time can help improve the page’s loading experience.
4. Improve Image Accessibility and SEO
Descriptive image filenames and useful alternative text help explain what an image contains.
Alt text is particularly important for visitors using screen readers. It also gives search engines additional context about meaningful images.
Remember that image optimisation supports SEO, but it does not guarantee higher search rankings.
1. Resize Images Before Uploading Them to WordPress
One common mistake is uploading images that are much larger than their actual display dimensions.
For example, imagine your blog content area displays images at approximately 800 pixels wide, but you upload a photograph that is 4,000 pixels wide.
The browser may display the image at a smaller size, but the original image can still be unnecessarily large.
Before uploading an image:
- Check the space where the image will appear.
- Determine the approximate display width.
- Resize the image using an image editor.
- Save the image at an appropriate quality level.
- Upload it to your WordPress media library.
You can use tools such as:
There is no single ideal image dimension for every WordPress website. Your theme, page layout and device sizes determine the appropriate dimensions.
For a blog featured image, 1200 × 675 pixels is a useful starting point for a 16:9 layout, but always check your actual theme’s image display requirements.
2. Choose the Right Image Format
Choosing an appropriate image format can reduce file size without noticeably affecting visual quality.
Here are some common formats used on WordPress websites.
JPEG
JPEG is commonly used for photographs and realistic images.
It supports lossy compression, which can reduce file size significantly.
Use it when you need photographs with manageable file sizes and do not require transparency.
PNG
PNG is useful for graphics that require transparency, logos, and certain illustrations.
However, PNG files can be larger than JPEG or WebP alternatives, especially for photographs.
Avoid using PNG for every image without considering the file size.
WebP
WebP is a modern image format that supports both lossy and lossless compression.
It is a practical choice for many WordPress websites because it can provide smaller files while maintaining good visual quality.
AVIF
AVIF is another modern image format that can provide efficient compression.
It may be useful when your image optimisation setup and visitors’ browsers support it.
For most websites, WebP is a sensible starting point. You can consider AVIF as an additional option after testing compatibility and delivery.
3. Compress Images Without Losing Too Much Quality
Image compression reduces file size by removing unnecessary image data or storing it more efficiently.
There are two common approaches.
Lossy compression: Reduces file size by removing some image information. The difference may be difficult to notice when compression is configured appropriately.
Lossless compression: Reduces file size without removing image information.
For most website photographs, carefully applied lossy compression is often a practical choice.
You can compress images before uploading them using:
- TinyPNG
- Squoosh
- Image editing software
Alternatively, you can use a WordPress image optimisation plugin.
Always compare the original and compressed versions before using an image on your website. Excessive compression can create visible artefacts and reduce image quality.
4. Use a WordPress Image Optimisation Plugin
If you regularly publish blog posts or upload product images, an image optimisation plugin can make the process easier.
Some commonly used options include:
- Imagify: Provides image compression and modern image format optimisation features.
- ShortPixel: Offers image compression and conversion options.
- Smush: Provides image optimisation and compression features.
- EWWW Image Optimizer: Offers image optimisation features for WordPress media.
Before choosing a plugin, review its current features, pricing, free limits and compatibility with your hosting environment.
A practical setup process is:
- Open your WordPress dashboard.
- Navigate to Plugins → Add New Plugin.
- Search for your chosen image optimisation plugin.
- Review its features and compatibility.
- Install and activate it.
- Configure compression and modern image format delivery.
- Test the results on your website.
Important: Avoid installing multiple image optimisation plugins that perform the same tasks. They can conflict or create unnecessary processing.
Before bulk-optimising an existing media library, create a backup and check how the plugin handles original images and generated thumbnails.
5. Enable WebP Images in WordPress
If your website still serves large JPEG or PNG files, consider using WebP where appropriate.
There are several ways to do this:
- Convert images to WebP before uploading.
- Use an image optimisation plugin that creates WebP versions.
- Use a compatible image delivery service or CDN.
After configuring WebP delivery, check that your website actually serves the new format.
You can do this by:
- Opening a page on your website.
- Right-clicking an image.
- Selecting Inspect.
- Finding the image element in the browser developer tools.
- Checking the image URL and the format being delivered.
Do not assume that activating a plugin automatically means every visitor receives WebP images. Verify the actual delivery and make sure suitable fallbacks are available where needed.
6. Use Lazy Loading Correctly
Lazy loading delays the loading of images until they are approaching the visible area of the browser.
This can help reduce unnecessary initial downloads, particularly on long pages containing many images.
For example, imagine a blog article containing ten images. Visitors may initially see only the featured image and first few sections.
Lazy loading can delay the download of images further down the article until they are needed.
WordPress supports native lazy loading for images, so you may already have this feature enabled.
However, there is one important exception.
Do not automatically lazy-load your main above-the-fold or hero image.
If the largest visible image is delayed, it may negatively affect the page’s LCP measurement.
A sensible approach is:
- Lazy-load suitable images further down the page.
- Allow important above-the-fold images to load promptly.
- Test your page after changing lazy-loading settings.
If you use an optimisation plugin, check whether it offers exclusions for the main hero or featured image.
7. Add Descriptive Image File Names and Alt Text
Image optimisation is not only about reducing file size. You should also make your images understandable.
Use Descriptive File Names
Before uploading an image, rename it using a short and relevant description.
For example:
Poor filename:
IMG_20261015_123456.jpg
Better filename:
wordpress-image-optimisation-guide.webp
Use lowercase letters, hyphens, and descriptive words.
Avoid stuffing several keywords into the filename.
Add Useful Alt Text
Alt text describes the purpose or content of an image.
For example, if an image shows a WordPress image compression screen, suitable alt text might be:
“WordPress image compression settings showing image quality options.”
Write alt text based on what the image actually shows.
Do not add the same keyword-filled alt text to every image. Decorative images may not need descriptive alt text at all.
8. Optimise Images in Elementor
If you use Elementor to build WordPress pages, you should also review how images are added and displayed.
Follow these practical steps:
- Open the page using Elementor.
- Select the image widget.
- Check which image size is selected.
- Choose an appropriate image size instead of unnecessarily using the full-size original.
- Review the image dimensions and layout.
- Check the responsive settings for desktop, tablet, and mobile.
- Preview the page on different screen sizes.
For background images, use appropriately sized assets rather than uploading very large photographs for small sections.
Also check whether your optimisation plugin or theme is affecting how Elementor background images are delivered.
9. Test Your WordPress Website After Image Optimisation
After making changes, test your website to confirm that the images are actually optimised.
You can use these free tools:
Google PageSpeed Insights
Visit Google PageSpeed Insights.
Enter your website URL and review the performance report.
Pay attention to recommendations such as:
- Properly size images.
- Efficiently encode images.
- Serve images in next-generation formats.
- Defer offscreen images.
Google Chrome Lighthouse
You can also use Lighthouse through Chrome Developer Tools.
It helps you review performance and identify opportunities to improve how your pages load.
Test Both Mobile and Desktop
Do not test only your desktop homepage.
Check important pages on both mobile and desktop, including:
- Homepage
- Blog posts
- Service pages
- Portfolio pages
- Product pages, if you run a WooCommerce store
Record the results before and after optimisation so you can identify whether your changes made a meaningful difference.
Common Image Optimisation Mistakes to Avoid
Here are some mistakes that can reduce the effectiveness of your optimisation work:
- Uploading very large photographs without resizing them.
- Using PNG for every type of image.
- Compressing images so aggressively that they look blurry.
- Installing multiple image optimisation plugins that perform overlapping tasks.
- Lazy-loading the main hero image without checking its effect.
- Adding irrelevant keywords to image alt text.
- Optimising desktop images but ignoring mobile display sizes.
- Assuming that a green performance score means every image is correctly optimised.
A consistent image preparation process is more useful than repeatedly installing new plugins.
Frequently Asked Questions About How to Optimise Images in WordPress
1. What is the best image format for WordPress?
WebP is a good general-purpose choice for many WordPress websites. AVIF can also provide efficient compression where supported. JPEG and PNG remain useful for specific image requirements.
2. Does image compression improve WordPress speed?
Image compression can reduce the amount of data browsers need to download. This can improve loading performance, especially on pages containing large images.
3. Is WebP better than JPEG for WordPress?
WebP often provides smaller file sizes at comparable visual quality. However, the best choice depends on the image, compression settings and compatibility requirements.
4. Should I lazy-load every image on my WordPress website?
No. Lazy loading is useful for images further down the page, but the main above-the-fold image should generally load promptly. Test your LCP element before changing loading settings.
5. Do I need an image optimisation plugin?
No. You can resize and compress images before uploading them. A plugin can automate the process, particularly if your website has a large media library or frequent uploads.
6. Does image optimisation directly guarantee better Google rankings?
No. Image optimisation can support performance, accessibility and user experience, but it does not guarantee improved rankings. SEO depends on many factors.
Final Thoughts
Image optimisation is an important part of maintaining a fast and user-friendly WordPress website.
By resizing images, choosing suitable formats, compressing files, using lazy loading correctly and adding descriptive alt text, you can improve how your website delivers visual content.
Start with your largest and most important images, test your website with PageSpeed Insights and make changes based on actual performance results.
Remember that adding more optimisation plugins is not always the solution. A well-planned image optimisation process can be more effective than installing several tools without understanding what they do.
Need help improving your WordPress website speed?
Umair Digital Solution provides WordPress development and SEO services to help businesses build, optimise and grow their online presence.
Explore our WordPress Development Services and Website Speed Optimisation to learn more.